Disclosure: This post is sponsored by Home.By.Me; but the examples used and opinions expressed are 100% my own.
How do you go about rearranging rooms? I think, for most of us, it involves recruiting a pair of extra hands {often our husband's} and moving furniture around until you are either successful or... exhausted.
However, there is actually an easier way -- it requires measuring tape and some planning; but your tired arms and sore back will thank you.
Home.By.Me is a FREE software that allows you to design a room {or an entire home!}, add furnishings, and save floor plans. I've been pleased with how easy it is to use once you've collected your measurements.
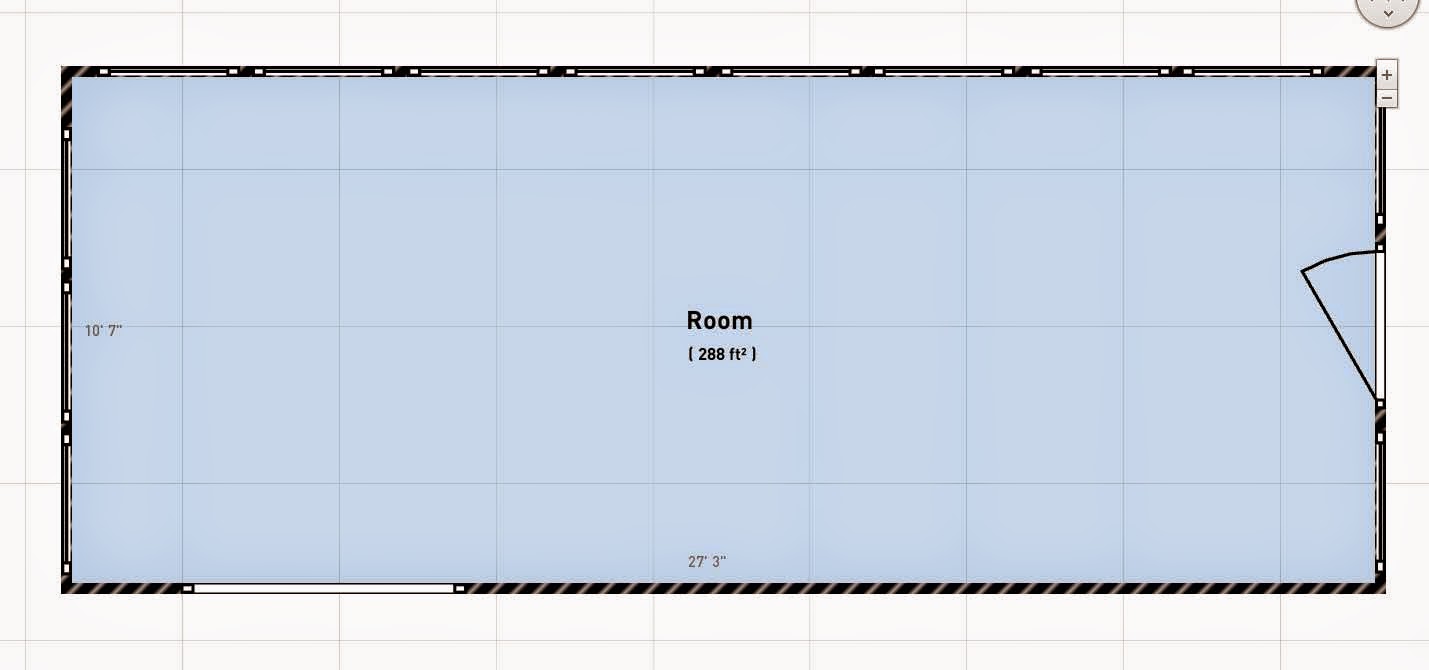
For example -- our Sunroom -- it's a long, skinny room with tons of windows which results in a tricky layout. We're using it as a family room and need it to function as an office, living area and play room. I began by plugging in the dimensions of the space.
See? It's nearly 3 times as long as it is wide!
I added each window and the doors with the correct dimensions as well. Everything is very customizable -- even including which way the door swings.
Once those architectural details are in place, it's just a matter of placing furniture in the space and trying various layouts. Home.By.Me has a selection of retail products that you can use in your layouts; along with basic furniture that you can match exactly to your dimensions.
For example, in the photo below, a basic sofa is shown along with the "Properties" window. I've chosen the color, materials and dimensions that match our actual sofa.
By the way -- one of the great things about this software is that it offers both a 2D and 3D view. I find it easiest to place the furniture within the 2D view. Then, I switch to the 3D angle to get a feel for how the space is shaping up.
Once you've got all the furniture in the room, move it around and try various floor plans. We've settled on placing our living space in the center with a desk on one end of the room and the play space on the other. The play space is just open for toys and such, so we're thinking it's also the best spot for our Christmas tree during the holidays!
We'd like to add some bookcases along the wall across from the sofa. On these shelves we could store TV equipment, toys and office supplies. I've been nervous that it would feel too tight between the seating and the bookcases; but the combination of 2D and 3D angles helps me visualize how roomy it will still feel.

From this point, just keep playing with the software. Even though you may not be able to find the exact curtains or table you want, there are still so many choices. You can customize everything to hone in on your style; like the color of the walls, material for flooring, types of fabric for curtains and more. You can even add all kinds of details like accessories, lighting and wall art {check out the Home.By.Me gallery for some examples}.
Like any new program, you'll get faster with it as you use it. This Sunroom layout is actually my second floor plan using Home.By.Me and it took about an hour to get all of the furniture and room design in place. However, after that it's just a matter of moving everything around to determine which layout is best.
I know I'd rather spend some time at the computer testing a layout before actually moving all of our furniture around -- and I know my husband appreciates it too, since he's the extra pair of hands when it comes to moving furniture.
The other thing I really like about this software is that it gives us a chance to visualize the changes we're making before tackling them. If you're a visual person too, I think you'll really love Home.By.Me. Try it out here.
If you enjoyed this post, subscribe to our email list and get every post delivered right to your inbox.

Labels: DIY, Inspiration